
How to Accept Crypto Payments on WooCommerce (Without a Custodial Processor)
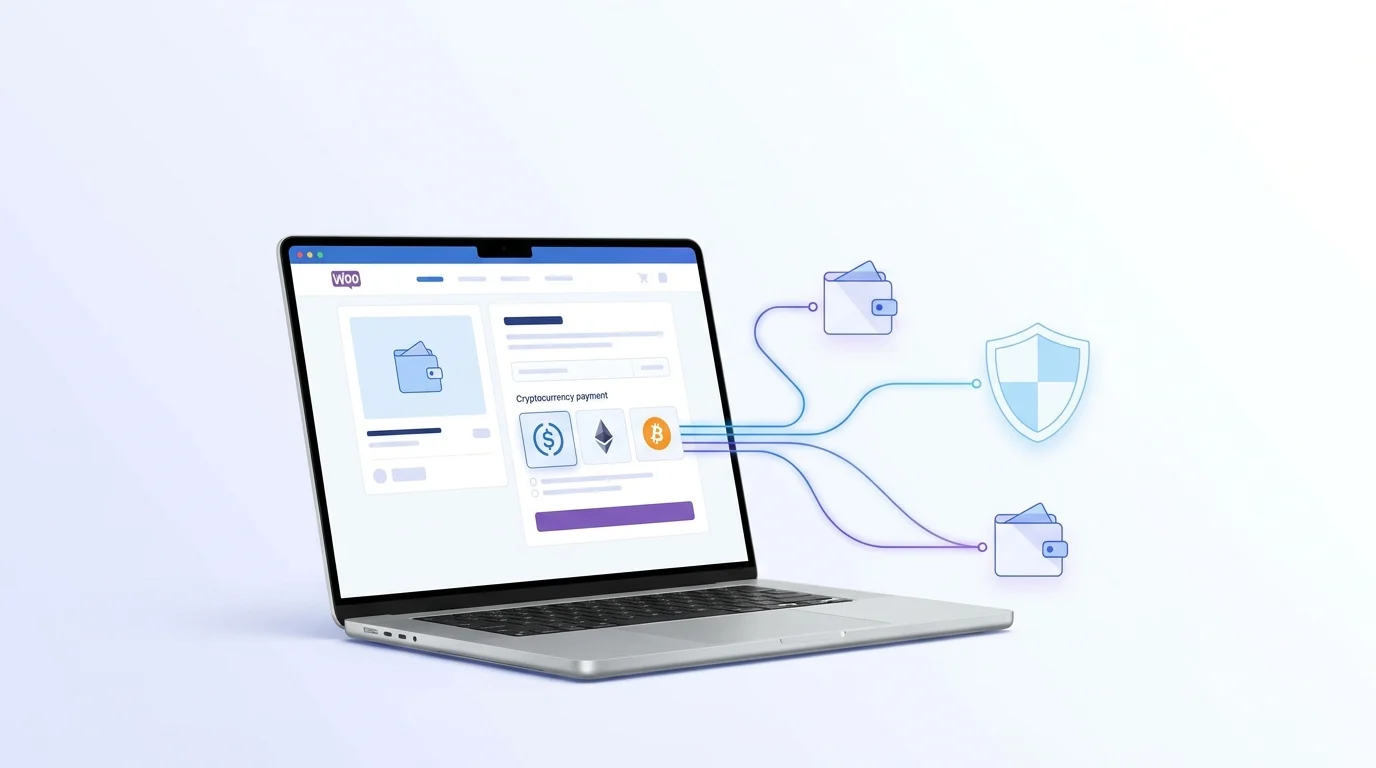
How to Accept Crypto Payments on WooCommerce (Without a Custodial Processor)
You built your WooCommerce store. You've got products, a checkout flow, and customers who want to pay in crypto. The question is: which payment gateway do you actually trust with your money?
Most crypto payment plugins for WooCommerce work the same way: they collect your customer's payment, hold it in their own wallet, and send you a payout — minus fees, minus a wait, minus any guarantee they won't freeze your account if something looks "suspicious." That's not crypto. That's a bank with extra steps.
This guide covers how to accept crypto payments on WooCommerce the non-custodial way — funds go directly from your customer's wallet to yours, on-chain, with no middleman holding anything.
What "non-custodial" actually means for your store
When a customer pays through a custodial processor, the money lands in the processor's wallet first. You're trusting them to forward it. If they freeze your account, dispute a transaction, or go under, your money is stuck.
Non-custodial means the smart contract routes the payment directly to your wallet address. QBitFlow never holds your funds — not for a second. Every payment has an on-chain transaction hash you can verify on Etherscan, Solscan, or BaseScan. There's no one to call to "release" your money because no one ever had it.
For a WooCommerce merchant, this matters for three reasons:
- No chargebacks. Crypto transactions are final. A customer can't call their bank and reverse a payment you already received.
- No holds. There's no processor deciding whether your business is "high-risk" this week.
- No conversion. You receive exactly what the customer paid — USDC stays USDC, ETH stays ETH. No auto-swap, no slippage, no surprise exchange rate.
What you need before you start
- A WooCommerce store (WordPress + WooCommerce plugin installed)
- A crypto wallet — MetaMask, Coinbase Wallet, or any wallet that works with Reown/AppKit (browser extension or mobile QR scan)
- About 10 minutes
That's it. No business registration. No KYC. No waiting for approval.
Step 1: Sign up and connect your wallet
Go to qbitflow.app/get-started. Sign up with an email and password.
Once you're in, you'll connect your wallet. This is a one-time step — you connect via browser extension or scan a QR code from your mobile wallet. You're not pasting a public address anywhere; the wallet stays connected so every subsequent interaction is handled automatically.
After connecting, QBitFlow drops test funds into your wallet so you can run through the full checkout flow on testnet before going live. No real money at risk while you're getting set up.
Step 2: Install the WooCommerce plugin
The QBitFlow WooCommerce plugin is live in the official WordPress.org plugin directory — install it in one click, no ZIP files:
- In your WordPress admin, go to Plugins → Add New
- Search for "QBitFlow"
- Click Install Now, then Activate
That's it. (You can also find it at wordpress.org/plugins/qbitflow-for-woocommerce, or grab the source on GitHub.)
Step 3: Create an API key and configure the plugin
Back in your QBitFlow dashboard:
- Go to API Keys and generate a new key
- Copy it — you'll paste it into the plugin settings
In WordPress:
- Go to WooCommerce → Settings → Payments
- Find QBitFlow in the list and click Manage
- Paste your API key
- Save
That's the integration. Your checkout now shows a crypto payment option alongside any other payment methods you have enabled.
What your customers see at checkout
When a customer selects crypto payment, they get a hosted checkout page — your logo, your colors — with a wallet connect button. They connect their wallet (browser extension or mobile QR), confirm the payment, and it's done. The transaction settles on-chain and your WooCommerce order updates automatically via webhook.
The customer pays gas fees. You pay QBitFlow's 1.5% flat fee, taken on-chain at settlement. No monthly subscription, no setup fee, no hidden charges.
Chains and tokens you can accept
Ethereum: ETH, USDC, USDT, EURC, DAI, WETH, WBTC, LINK
Base (Ethereum L2): ETH, USDC, USDT, EURC, DAI, WETH, cbBTC, AERO
Solana: SOL, USDC, USDT, EURC, DAI, WSOL, LINK
If your customers prefer stablecoins, USDC on Base is the cheapest to transact — low gas, fast finality, dollar-pegged. If they're paying in ETH or SOL, that works too.
What about subscriptions?
Right now, the WooCommerce plugin handles one-time payments — perfect for physical products, digital downloads, and one-off orders. Recurring billing through the plugin is on the roadmap.
If you need crypto subscriptions today, QBitFlow supports them at the platform level via its API and SDKs: customers authorize a spending cap — they stay in control of how much you can charge per cycle — and billing runs automatically on your schedule. A few things worth knowing:
- Subscriptions are token-only — ERC-20 and SPL tokens (USDC, USDT, etc.), not native ETH or SOL
- Customers can cancel on-chain at any time from their self-managed page
- Free trials need zero wallet interaction — the customer only signs when the trial converts to paid
Want recurring billing wired into your WooCommerce store specifically? Reach out — we'll point you at the API path.
Accounting: the part most crypto plugins skip
Every transaction exports to CSV with 28 columns — including USD value at the time of receipt, on-chain tx hash, block number, and per-transaction fee breakdown. Drop it into QuickBooks or Xero. No manual exchange-rate lookups, no reconstructing fee splits from block explorer data.
This matters because "how do I handle accounting?" is one of the first questions any Stripe-using merchant asks when considering crypto. Most crypto processors give you a transaction list. QBitFlow gives you a file your accountant can actually use.
How it compares to the alternatives
| QBitFlow | Coinbase Commerce | NowPayments | BitPay | |
|---|---|---|---|---|
| Custodial? | No — direct to your wallet | Yes | Yes | Yes |
| KYC required? | No | Yes | Yes | Yes |
| WooCommerce plugin | ✅ Live | ✅ | ✅ | ✅ |
| Chargebacks | None (crypto is final) | None | None | None |
| Fee | 1.5% flat | 1% | 0.5–1% + spread | 1–2% |
| Subscriptions | ✅ On-chain (via API; plugin = one-time) | ❌ | Limited | ❌ |
| Chains | ETH, Base, Solana | ETH, Base, Solana, others | Many | BTC, ETH, others |
| Funds held by processor | Never | Yes (payout cycle) | Yes | Yes |
The fee comparison isn't the main point. The main point is that with custodial processors, you're trusting a company with your money. With QBitFlow, you're trusting math.
Get started
- Sign up at qbitflow.app/get-started — no KYC, no paperwork
- Connect your wallet
- Install the plugin from your WordPress admin (Plugins → Add New → search "QBitFlow")
- Paste your API key into the plugin settings
- Run a test transaction on testnet (free test funds included)
- Go live
Questions? The docs are at qbitflow.app/docs. If you get stuck, reach out — we'll walk you through it.
Related Articles

How to Build an E-commerce Site with WordPress + WooCommerce + QBitFlow. Accept Crypto Payments in Under 30 Minutes.
Most WordPress stores accept cards. A small but growing percentage also accept crypto — not as a statement, but as a payment option that settles in seconds, costs less, and cannot be charged back. This tutorial walks through the full setup: signup, plugin install, configuration, test mode, and going live on Ethereum, Solana, or Base. About 30 minutes from zero to your first on-chain checkout.
Read more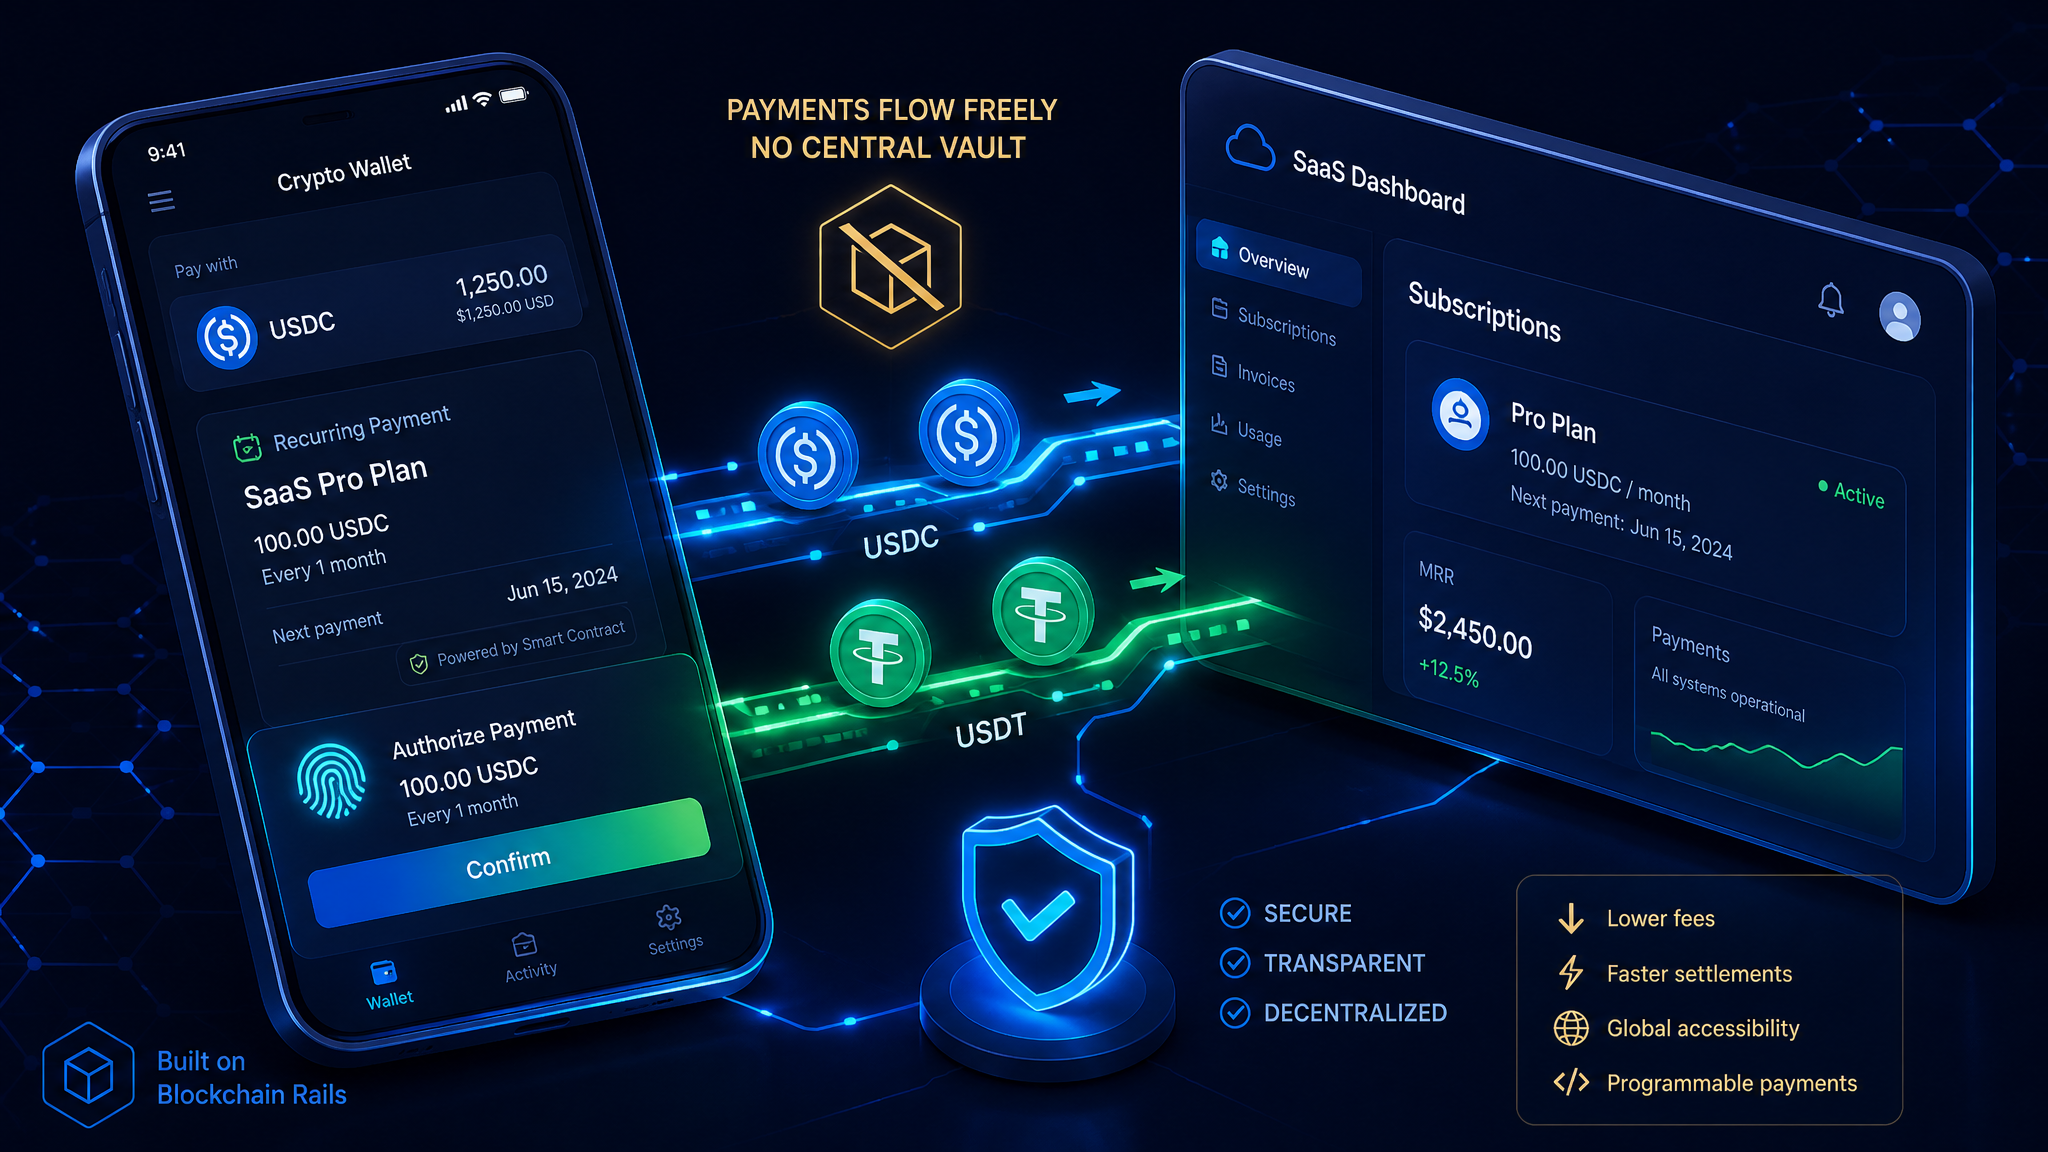
How to Accept Crypto Subscriptions (Without Holding Your Customers' Money)
A practical guide to recurring crypto payments for SaaS and membership businesses — spending-cap authorizations, free trials with zero wallet friction, and why the money never touches a middleman.
Read more